Luxury Home Tour
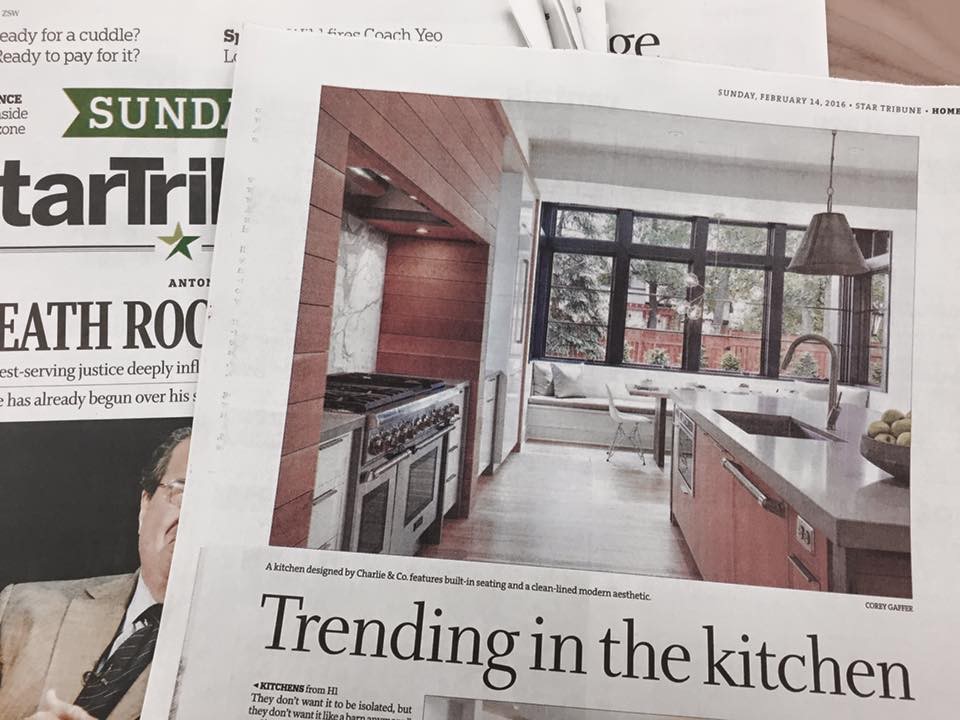
Designed & Made was proud to have one of its projects recently featured front and center in the Minneapolis Star Tribune’s article, “What’s trending in the Kitchen?”.
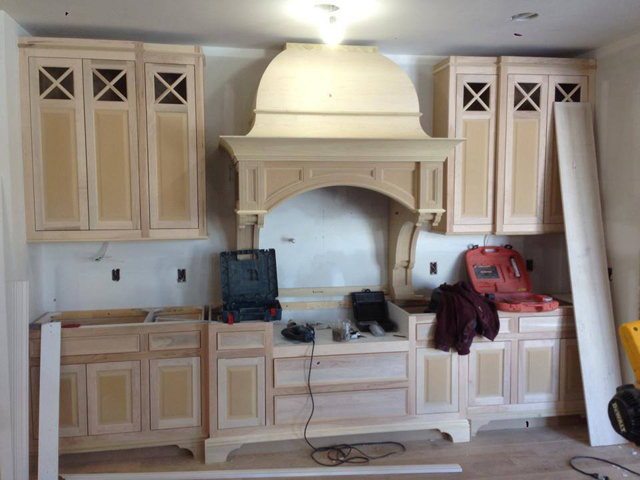
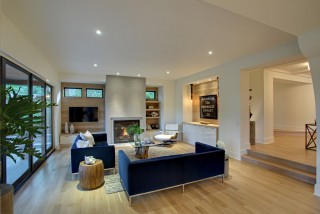
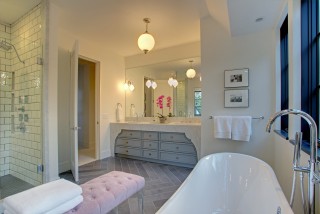
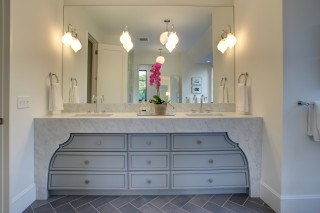
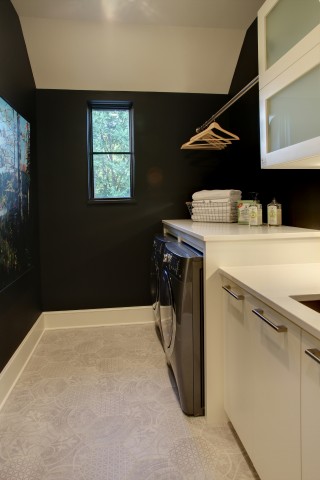
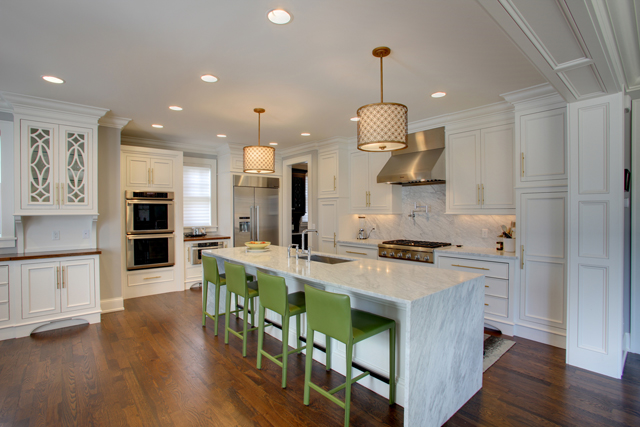
Designed & Made was proud to be a part of the Minneapolis-St. Paul Luxury Home Tour. The home located in Crocus Hill offers custom cabinetry, a custom entertainment center, butler’s pantry, master bathroom vanity and bar.
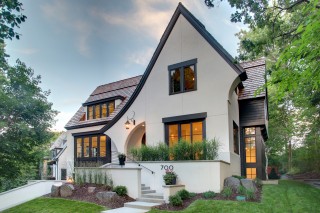

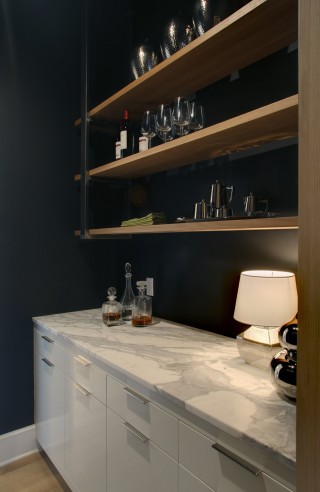
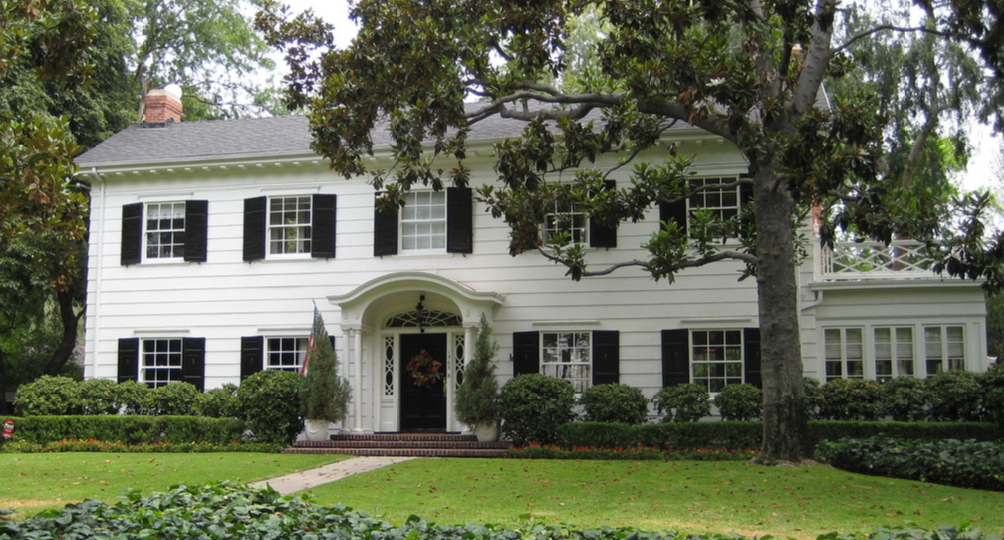
Located in St. Paul’s historic Crocus Hills neighborhood, the home fits in with the character of other homes on the street, designated a national historic district. There’s a strong sense of community here, and builder Detail Design + Build and designer Charlie Simmons of Charlie and Co. were sensitive to neighborhood concerns about history and aesthetics.
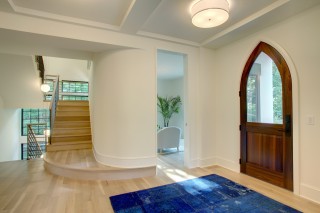
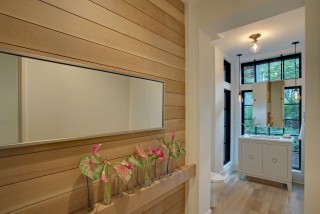
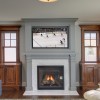
Historic details can be seen in the steeply pitched cross gable, stucco exterior, archway to the front door, and stacked brick wall landscaping, and inside, in the coffered ceiling, butler’s pantry, hooded hearth, hand-painted tiles, built-in cabinetry, and back covered porch, complete with hanging lanterns.
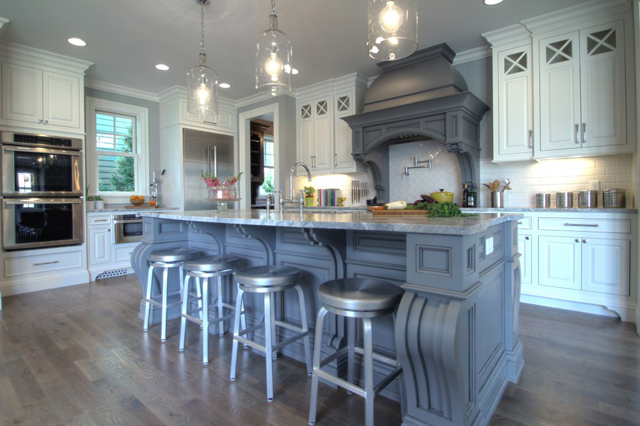
The 5,000-square-foot home has contemporary details, too, with art niches, a powder room with an art glass feature wall, a private balcony with southern exposure off the master suite, a four-story stair tower with cascading light fixtures adding drama and natural light, bedrooms connected with a Jack-and- Jill bath, a beautiful master suite, and a separate driveway path to the mudroom entrance. There are a few tech surprises in the home as well, with technology hidden in unexpected places—like the cabinet doors that open and close automatically with a soft push.
A lot of time was spent perfecting details and paying attention to craftsmanship for the perfect balance of form and function. The end result? A home that is not only aesthetically pleasing, but incredibly versatile— features that will never go out of style.
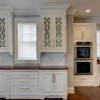
Mr. & Mrs. Smith Doors
We knew we wanted to make a big impact with this kitchen. This video showcases the final product of our collaborative efforts.
The builder I did this kitchen for and I both have a design forward approach and are really passionate about what we do. These projects are always a lot of fun to work on.
This house is the second of two custom homes in the new 12 lot development in historic St. Paul’s Crocus Hill neighborhood.
The custom CNC grid doors were originally inspired by the house in Mr. & Mrs. Smith. (The Closet and Master Bath in that house are also amazing, check it out next time you watch the movie. You know what I’m talking about Rick.)
The question was, what’s the best way to make custom grids like the ones in these doors? That is where Mike Prom and Tyler Cooper came in. After Chris and I had the concept for this kitchen polished up, Mike and I started designing the doors and toe kicks using parametric modeling software and go-to-meeting.
Mike is a superhero when it comes to CAD. He has been helping me out with drafting and design work from the very beginning. Mike is awesome.
Tyler Cooper is one of the owners at Nordeast Makers. Cooper and his business partner Micah have become my go-to source for contract CNC work. In addition to the CNC router, they also have a laser cutter, and multiple 3D printers.
The best projects that I work on are always a collaboration between multiple creative minds working towards the same end goal.
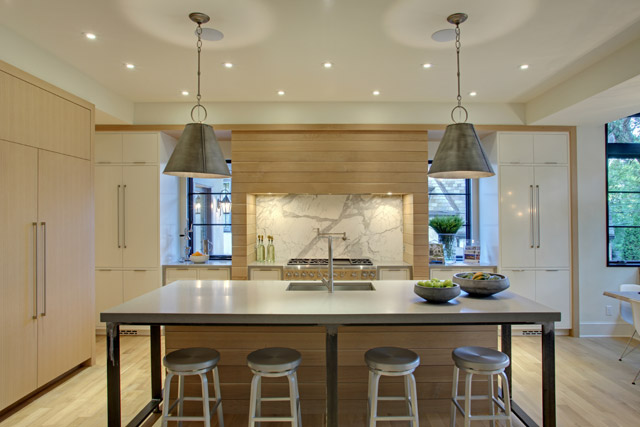
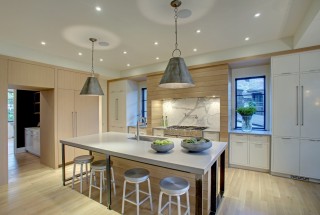
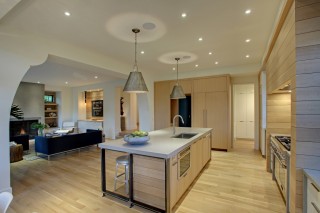
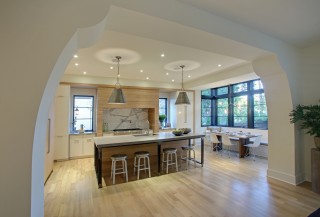
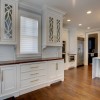
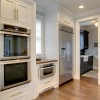
Below are some images of the finished project.

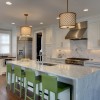
Crocus Hill Custom Kitchen
We knew we wanted to make a big impact with this kitchen. This video showcases the final product of our collaborative efforts.
The builder I did this kitchen for is also one of my best friends, and we both started our companies at the same time in 2005. Chris Van Klei and I both have a design forward approach and are really passionate about what we do. It’s always really fun working together. At times we tend to go a little overboard, which is why I believe we were able to survive in the down economy and come out on the other end working on projects like this one.
This particular project was a unique opportunity for the both of us to plant our flags. This house is one of two custom homes in a new 12 lot development in historic St. Paul’s Crocus Hill neighborhood. We were going to be working along side some big name builders and architects and with that in mind, the design process began.
Design concepts always start out as a sketch. This kitchen was modeled after a similar project I completed a year earlier. The question was, how do we take this to a whole new level? That is where Mike Prom came in. Mike was the mastermind behind the uber complicated hidden drawer mechanism that I built back in 2010.
Mike is a CAD wizard with a background in mechanical engineering. He has been helping me out a tun with drafting and design work since I got started. Like Chris, Mike is also one of my best friends. The best projects that I work on are always a collaboration between multiple creative minds working towards the same end goal.
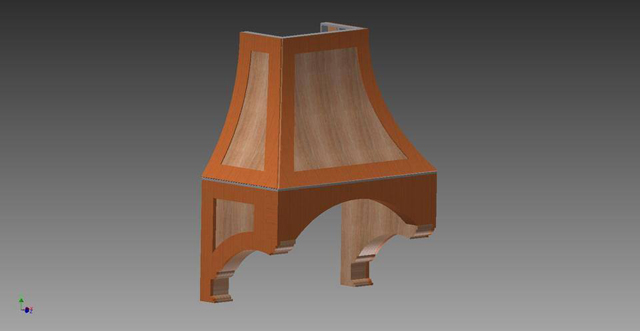
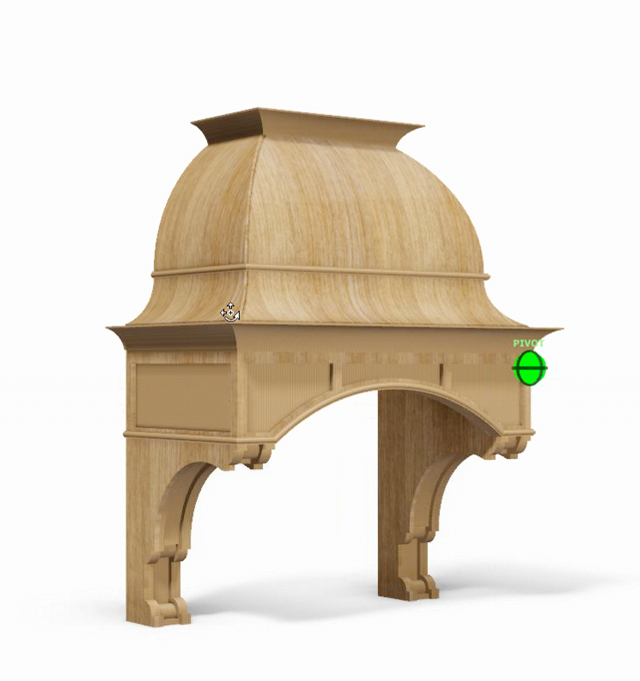
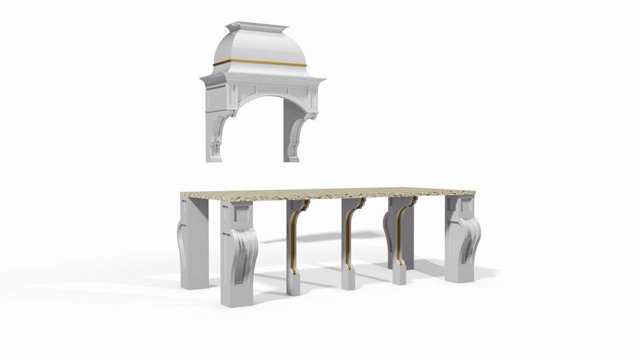
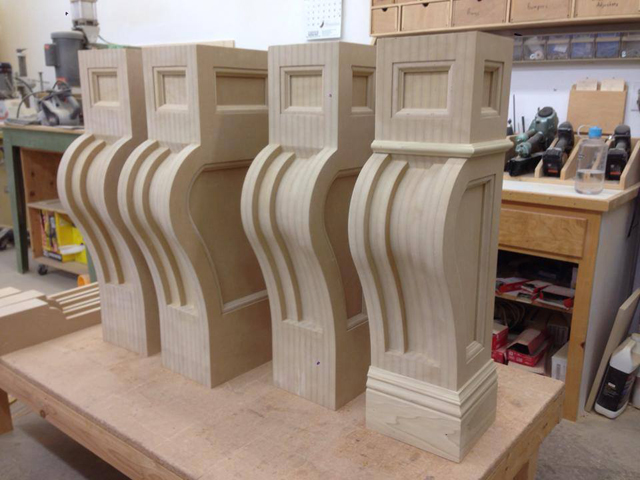
After Chris and I had the concept for this kitchen polished up, Mike and I started designing the hood using parametric modeling software.
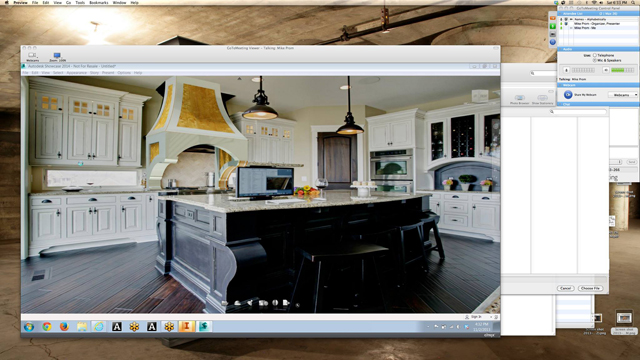
Mike lives in Portland and I live in Minneapolis, so we had to do our meetings together online using GoToMeeting.com. Mike designed/modeled the hood and island legs using a CAD software called Inventor by Autodesk. I was able to view his screen on my screen, and we were able to communicate though the microphone and speakers built into our computers. Together we spent several nights collaborating on how we wanted those parts to look and be constructed.
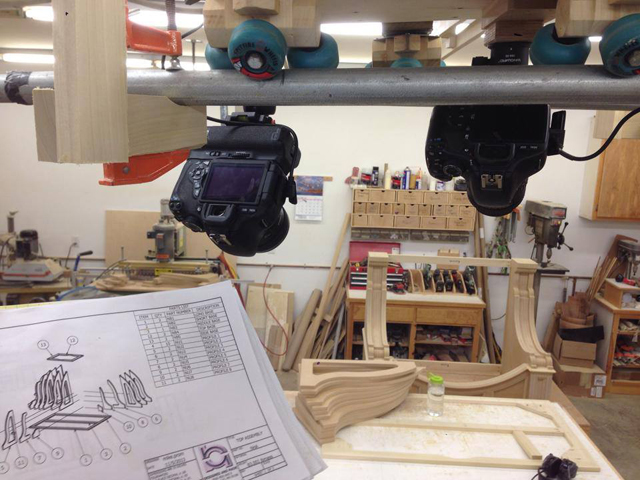
Here are some renderings showing the progression.
After we completed the design work, Mike put me in touch with a contact of his who runs the CNC at a nearby, large scale production wood shop. We handed off the .dxf files to him and he nested the parts and routed everything out for us.
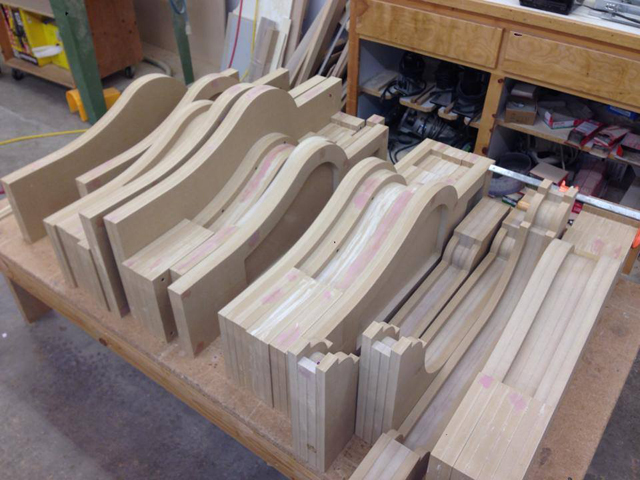
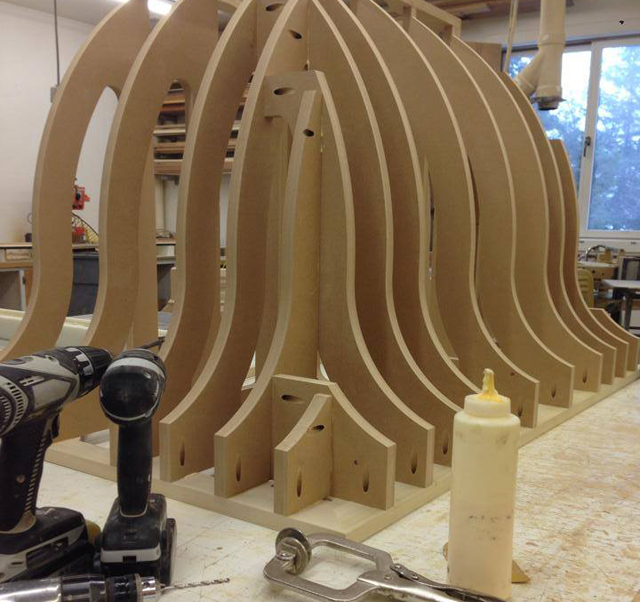
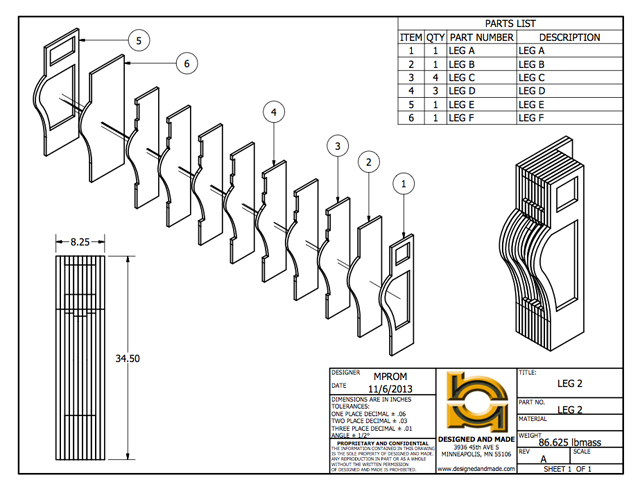 After that it was simply a matter of piecing everything together and filming time-lapses of the process. All the parts were routed out of 3/4″ MDF. I glued, screwed, bondo’ed and sanded up each section, working from the inside of the assembly outward.
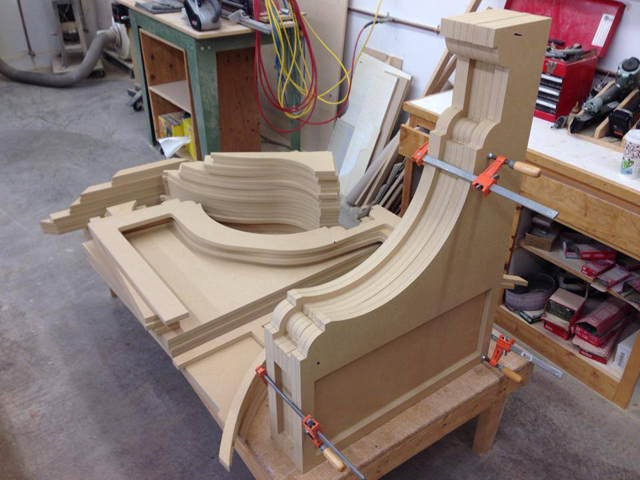
After the bones of the top section were assembled, I laminated the face with 3/8″ bending plywood. These parts were also cut to the exact size and shape on the router, so all I had to do was line it up and screw it down.
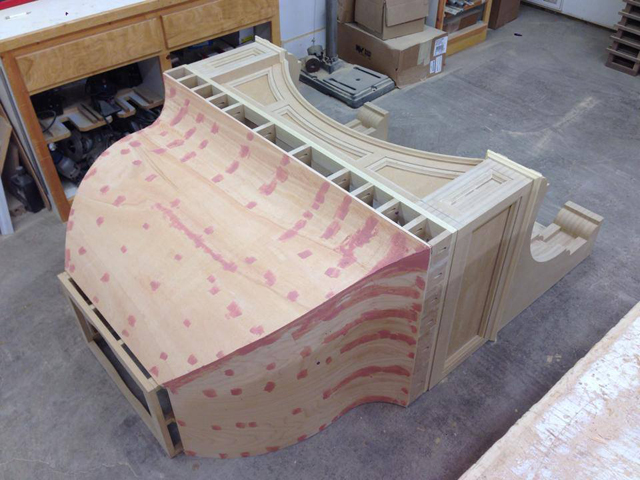
After the glue dried, I puttied all the screw holes and edges with automotive bondo and sanded them flush. The final step was to veneer over the bending plywood. For this, I used paper backed veneer and contact adhesive. I started with the sides, and finished with the face. The applied molding was nailed on and I was finished.
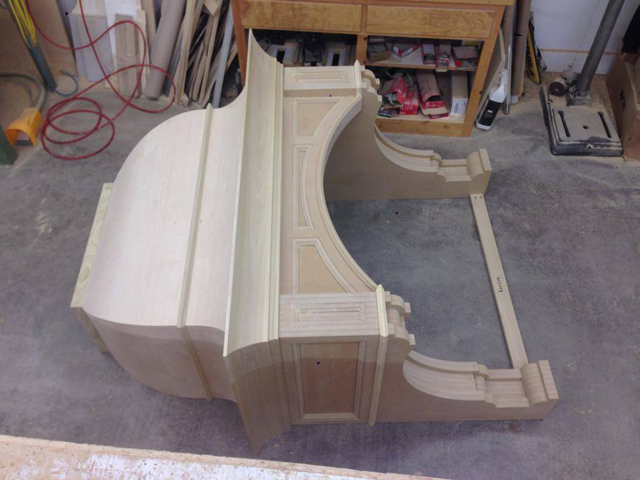
We designed this hood to be easy to install. There were two hangers built into the top section of the hood so it could be installed the same way you would install a cabinet. We also designed the back sides of the legs to have voids so that cleats could be attached to the wall and nailed into through the sides of the legs.